Mastering Levels in Revit: Essential Skills for 3D Modeling 🏗️ | Part 18
Learn the key techniques for working with levels in Revit to enhance your 3D modeling and civil design projects. Perfect for beginners and pros alike!
Autodesk786
534 views • Feb 16, 2025
About this video
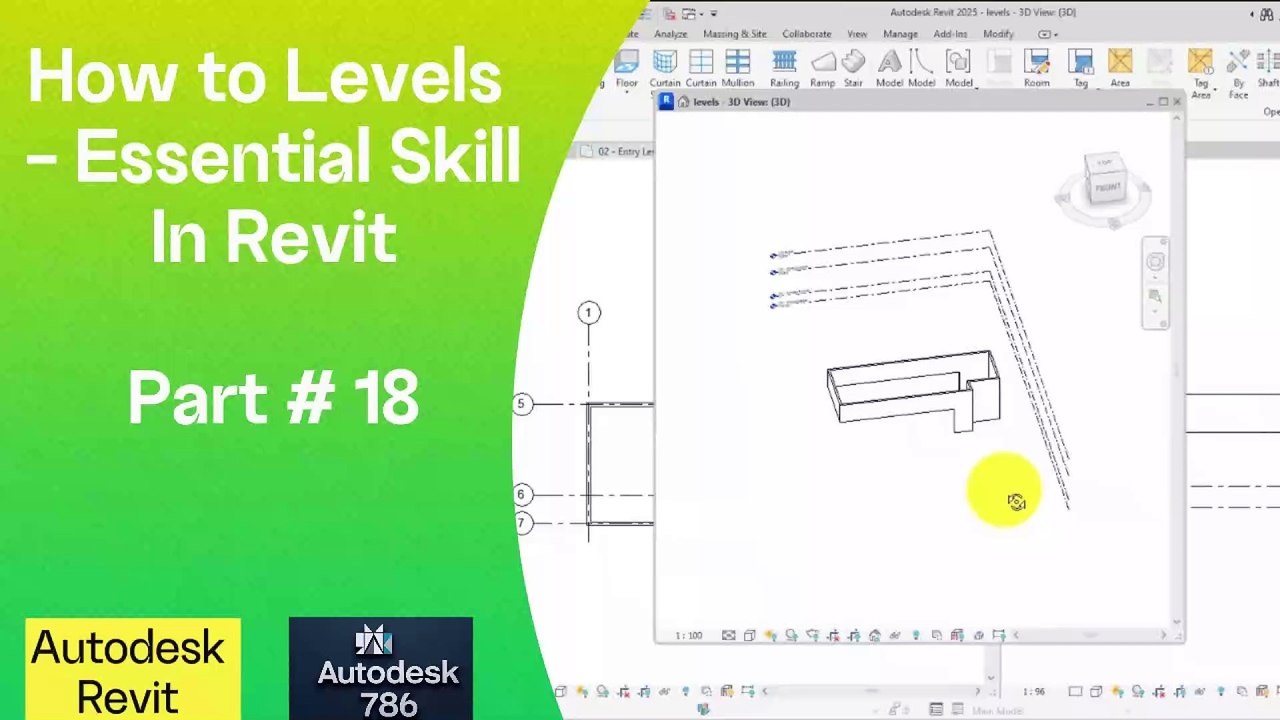
https://dai.ly/x9dob6c<br />https://dai.ly/x9dob38<br />https://dai.ly/x9dgqem<br />https://dai.ly/x9d58e0<br />https://dai.ly/x9d2fm6<br />https://dai.ly/x9dob6c<br />Working with Levels in Revit – Essential Skill<br />Levels in Revit define building heights and are essential for placing elements like floors, walls, roofs, and ceilings. They help organize the model and control elevation-based components.<br /><br />1. Understanding Levels in Revit<br />✅ Levels define story heights (e.g., Ground Floor, First Floor, Roof).<br />✅ They are visible in Elevation & Section Views.<br />✅ Elements like floors, walls, and roofs reference levels for proper placement.<br /><br />2. How to Create Levels in Revit<br />A) Creating Levels Manually<br />Open an Elevation View (View Tab → Elevations).<br />Go to the Architecture Tab → Click Level (Shortcut: LL).<br />Click to place the starting point, then click again for the end point.<br />Adjust the height of the level in Properties or by clicking and typing a value.<br />📌 Tip: Use temporary dimensions to set precise level heights.<br /><br />B) Copying Existing Levels<br />Select an existing level.<br />Use Copy (CO) or Array (AR) to create evenly spaced levels.<br />Adjust heights as needed.<br />📌 Tip: Use Align (AL) to keep levels properly spaced.<br /><br />3. Naming and Managing Levels<br />Click on the level name (e.g., Level 1).<br />Type a new name (e.g., Ground Floor).<br />If prompted, rename associated views for consistency.<br />📌 Tip: Use Project Browser to manage and organize levels systematically.<br /><br />4. Adjusting Level Heights<br />Click on a level in Elevation View.<br />Type a new height value in the dimension box.<br />Press Enter to apply changes.<br />📌 Tip: Keep level spacing consistent for structural accuracy.<br /><br />5. Controlling Level Visibility<br />Go to Visibility/Graphics (VG) and ensure Levels are enabled.<br />Use Crop Region & Scope Box to manage level display.<br />6. Best Practices for Working with Levels<br />✅ Create levels before placing major elements (floors, walls, etc.).<br />✅ Use a consistent naming system (e.g., "GF" for Ground Floor, "FF" for First Floor).<br />✅ Use Scope Boxes to control level visibility in multiple views.<br />✅ Check levels in 3D View to ensure correct placement.<br /><br />🚀 Quick Summary:<br />🔹 LL – Create levels in Elevation View.<br />🔹 Rename levels for clarity.<br />🔹 Adjust height by typing values.<br />🔹 Use Scope Boxes for view control.<br /><br />Would you like help with a specific issue related to levels in Revit
Video Information
Views
534
Duration
1:55
Published
Feb 16, 2025
Related Trending Topics
LIVE TRENDSRelated trending topics. Click any trend to explore more videos.
No specific trending topics match this video yet.
Explore All Trends