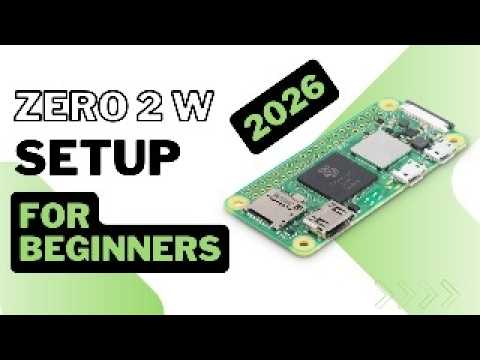
Setting Up Raspberry Pi Zero 2 W in 2026 🛠️
Learn how to set up your Raspberry Pi Zero 2 W in 2026. Perfect for beginners—tiny, affordable, and versatile. Join the Pi community!
RaspBerry Pi Made Easy
13.8K views • Feb 9, 2026
About this video
🎁 Join my PI community: https://www.skool.com/pi-mastery-3626/about
New to Raspberry Pi? The Zero 2 W is the perfect starting point tiny, affordable, and surprisingly powerful. This beginner-friendly 2026 guide takes you from unboxing to a working LED blink project with Python, step by step.
⚡ Join newsletter → https://tally.so/r/w5EeNv
📊 The tool I use for YouTube research & growth → https://vidiq.com/raspberrypi
────────────────────────────
🛠 PARTS LIST
(affiliate links — I may earn a small commission at no extra cost to you)
Raspberry Pi Zero 2 W → https://amzn.to/3S7nZhi
5V/2.5A Micro-USB Power Supply → https://amzn.to/4odP7JT
microSD Card (A1, 16–64GB) → https://amzn.to/3ZfS9Tq
USB 3.0 microSD Card Reader → https://amzn.to/43b8mv7
Mini-HDMI → HDMI Cable → https://amzn.to/4m40B0x
Micro-USB OTG Adapter / Powered USB Hub → https://amzn.to/4nAwzT8
(Optional) 40-Pin Header → https://amzn.to/43OW23U
(Optional) Camera Adapter Cable (22-pin Zero ↔ 15-pin standard) → https://amzn.to/3JFmrKH
(Optional) Small Heatsink → https://amzn.to/3LnB066
If your Raspberry Pi Zero 2 W (Pi Zero 2W) isn’t booting, won’t connect to Wi-Fi, or you want the cleanest setup in 2026 — this is the step-by-step guide. You’ll go from fresh board to first boot, Wi-Fi + SSH (headless setup), remote access options (SSH / VNC / Raspberry Pi Connect), and your first GPIO win: blinking an LED on GPIO18.
✅ What you’ll learn (fast + practical)
• Raspberry Pi Zero 2 W hardware ports (mini HDMI, micro USB power vs USB OTG, microSD)
• Raspberry Pi Imager setup + OS choice (32-bit) and the “OS customization” settings that save time
• Headless Raspberry Pi setup: Wi-Fi + Enable SSH + hostname.local + finding your Pi’s IP
• Remote access: SSH (terminal), VNC (full desktop), Raspberry Pi Connect (browser access)
• First GPIO project: blink an LED (BCM GPIO18) + common troubleshooting (power, SD card, HDMI, OTG, SSH)
⏱️ Chapters / Timestamps
00:00 Clean Raspberry Pi Zero 2 W setup overview (first boot → Wi-Fi + SSH → first GPIO win)
00:28 Pi Zero 2W ports explained (power, USB OTG, mini HDMI, microSD, GPIO)
00:51 Common beginner issues (power, storage, wrong HDMI cable)
01:17 Install Raspberry Pi Imager + choose device + OS (32-bit)
01:43 Imager “OS customization” (hostname, user/pass, Wi-Fi, timezone, Enable SSH)
02:02 First boot checklist + what to do if nothing shows after ~5 minutes
02:27 Headless setup: SSH in with hostname.local or your Pi’s IP
02:54 Remote access options: SSH vs VNC vs Raspberry Pi Connect
03:18 GPIO LED blink demo (parts + wiring using BCM GPIO18)
03:46 Troubleshooting: random resets, no boot, no display, OTG not working, SSH not working
04:41 Next steps (sensors, robotics, more projects)
🧰 Parts used for the GPIO “blink LED” test
• 1x LED
• 1x 220Ω–330Ω resistor
• Breadboard + jumper wires
• BCM GPIO18 + GND
🌐 Join my community:
tally.so/r/w5EeNv
📌 Helpful notes
• The Pi Zero 2 W uses MINI HDMI (Type-C) — not micro HDMI.
• USB accessories go through the USB OTG “data” port (with a proper OTG adapter), not the power port.
• If SSH doesn’t work, re-check that “Enable SSH” and Wi-Fi were set in Raspberry Pi Imager before writing the SD card.
⚠️ Disclaimer
This video is for educational purposes. Your results may vary depending on your microSD card quality, power supply, cables/adapters, router/network settings, OS version, and peripherals. Double-check wiring before powering hardware, and use a proper resistor with LEDs. I’m not responsible for damage, data loss, or downtime—follow official documentation and proceed carefully.
If this helped, drop a comment with your setup (headless or display) and what you’re building next.
Tags and Topics
Browse our collection to discover more content in these categories.
Video Information
Views
13.8K
Likes
182
Duration
4:48
Published
Feb 9, 2026
User Reviews
4.5
(2) Related Trending Topics
LIVE TRENDSRelated trending topics. Click any trend to explore more videos.
No specific trending topics match this video yet.
Explore All Trends