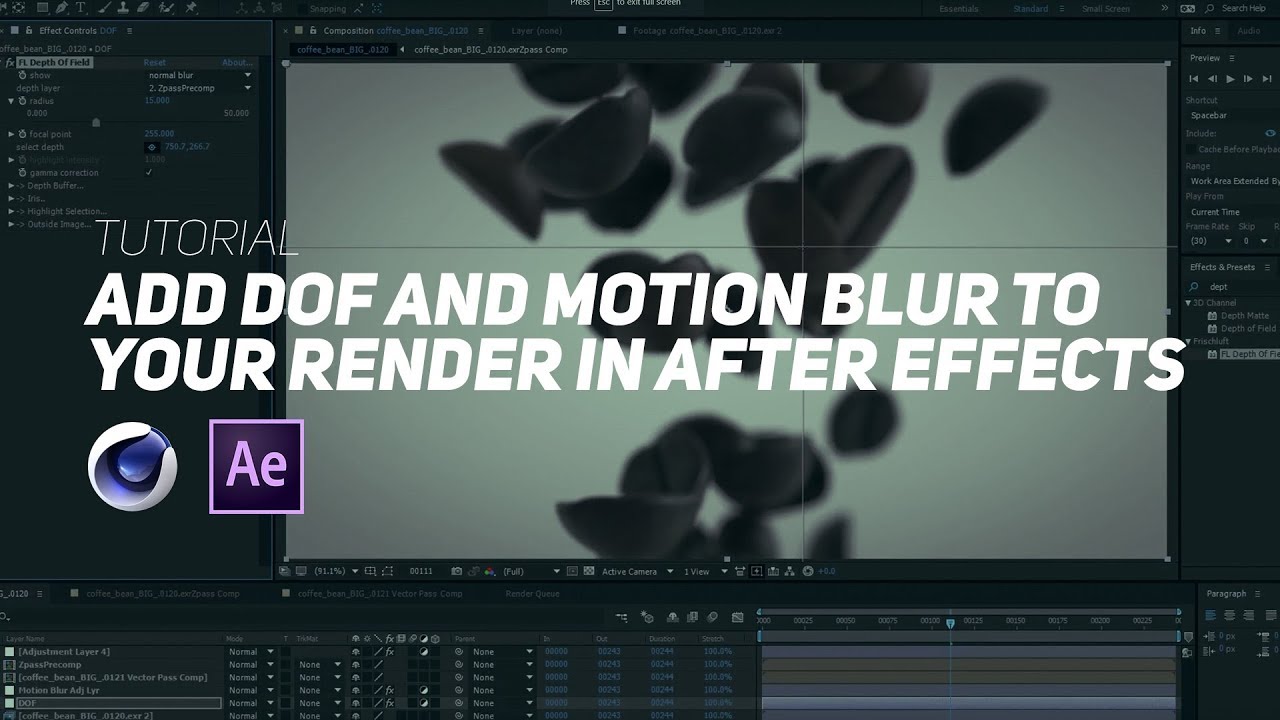
Enhance Your C4D Renders with DOF & Motion Blur Using After Effects 🎥
Learn how to add stunning Depth of Field and Motion Blur effects to your Cinema 4D renders with After Effects using third-party plugins like Frischluft Lenscare and Real Smart Motion Blur. Boost your visual quality effortlessly!

Greyscalegorilla
89.4K views • Mar 2, 2018
About this video
Third-Party Plugins Needed: Frischluft Lenscare http://www.frischluft.com/lenscare/index.php and Real Smart Motion Blur: http://revisionfx.com/products/rsmb/
This question comes up all the time: “What is the correct workflow for doing Depth of Field and Motion Blur in After Effects? Cuz when I use the z-pass I get this odd fringing in AE and the vector pass is confusing.
Well, we have you covered! I know what you’re thinking. I just turn on the zpass right? Well, Yes and no.
This tutorial is about saving a TON of render time by NOT having to render your Depth of Field and Motion Blur in C4D’s Physical Renderer. With a couple of After Effect plugins and the correct workflow, you can save yourself potentially hours of rendering.
CORRECTION: Looks like I grabbed the regular RSMB plugin and not the Pro Vector version which reads your vector pass. Sorry about that folks. Grabbing this Pro Vector version and choosing your vector pass will give you more accurate motion blur results.
NOTE: This tutorial originally aired on Vimeo, but we thought it was too useful not to upload to YouTube as well :)
HDRI Studio Rig
https://greyscalegorilla.com/product/hdri-studio-rig/
FOLLOW GREYSCALEGORILLA:
Website - http://bit.ly/gsg-site
Blog - http://bit.ly/gsg-blog
Twitter - https://bit.ly/2JncNIW
Instagram - https://bit.ly/2q7tZtJ
Facebook - https://bit.ly/2q8Gy7j
GET EVERYTHING AND SAVE:
Pro C4D Training, Drag and Drop Materials, and Greyscalegorilla Plugins. Get it all with Plus.
http://bit.ly/gsg-plus
Tags and Topics
Browse our collection to discover more content in these categories.
Video Information
Views
89.4K
Likes
1.6K
Duration
23:42
Published
Mar 2, 2018
User Reviews
4.7
(17) Related Trending Topics
LIVE TRENDSRelated trending topics. Click any trend to explore more videos.