Step-by-Step Guide to Creating Stairs & Railings in Revit 🏗️ | Part 09
Learn how to design and model stairs and railings in Revit with this comprehensive tutorial. Perfect for architects and civil engineers looking to enhance their BIM skills!
Autodesk786
263 views • Feb 8, 2025
About this video
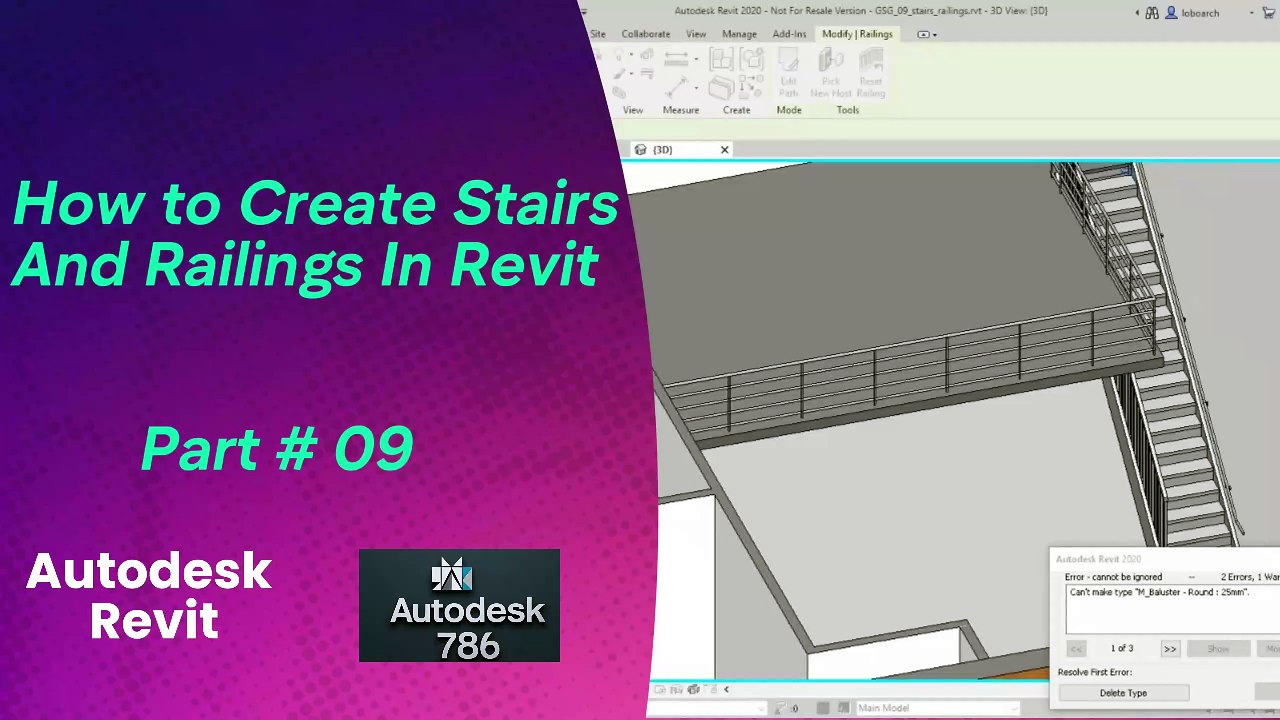
https://dai.ly/x9dob6c<br />https://dai.ly/x9dob38<br />https://dai.ly/x9dgqem<br />https://dai.ly/x9d58e0<br />https://dai.ly/x9d2fm6<br />https://dai.ly/x9dob6c<br />Creating stairs and railings in Revit is a common task that helps define circulation while enhancing both the safety and aesthetics of your design. Below is a step-by-step guide to help you create stairs and add railings in your Revit project.<br /><br />Part 1: Creating Stairs<br />Step 1: Open an Appropriate View<br />Plan or Section View:<br />Open a floor plan or section view from the Project Browser at the level where you want your stairs to start. This view helps you accurately lay out the stair geometry.<br />Step 2: Start the Stairs Command<br />Navigate to the Architecture Tab:<br />On the ribbon, click the Architecture tab.<br /><br />Select the Stairs Tool:<br />In the Build panel, click on the Stairs icon.<br /><br />Revit typically offers multiple methods such as Stair by Component and Stair by Sketch. Choose the method that best fits your design needs.<br />Step 3: Create the Stairs<br />Option A: Stair by Component<br />Choose a Stair Type:<br />In the Properties palette, select a pre-loaded stair type (e.g., a standard straight stair).<br /><br />Place the Stair:<br />Click to set the starting point on your plan view, then drag your cursor along the desired path. Revit will display a preview of the stair run.<br /><br />Finish the Command:<br />Once you’ve defined the stair’s path, click Finish (the checkmark) to create the stair.<br /><br />Option B: Stair by Sketch<br />Initiate the Sketch:<br />After selecting the Stairs tool, choose Stair by Sketch if you need custom geometry.<br /><br />Draw the Stair Outline:<br /><br />Click to place points that define the flights and landings.<br />Use drawing tools (line, arc, etc.) to create the desired outline.<br />Edit Flight and Landing Properties:<br /><br />Once your sketch is complete, use the editing grips or the Properties palette to adjust parameters like stair width, number of risers, and landing dimensions.<br />Finish the Sketch:<br />Click Finish to convert your sketch into a stair object.<br /><br />Step 4: Modify Stair Properties (Optional)<br />Adjust Dimensions:<br />With the stair selected, use the Properties palette to modify details such as:<br />Width of the stair.<br />Number of risers and tread depth.<br />Landing sizes or additional flights.<br />Edit Further:<br />Double-click on the stair (or use the Edit Stair command) to enter detailed editing mode if further modifications are needed.<br />Part 2: Adding Railings<br />Step 1: Select the Railing Tool<br />Navigate to the Architecture Tab:<br />Click the Architecture tab on the ribbon.<br /><br />Choose the Railing Tool:<br />In the Build panel, click on the Railing icon.<br /><br />Step 2: Choose a Railing Type<br />Set Railing Type in Properties:<br />In the Properties palette, select a railing type that suits your design.<br />If the available types don’t meet your needs, you can load new families via Insert → Load Family.<br />Step 3: Place the Railing<br />Automatic Railing Creation (for Stairs):<br /><br />With the stairs selected, some Revit versions automatically offer a prompt to create railings along the stair’s edge.<br />Click Add Railing when prompted, and Revit will gene
Video Information
Views
263
Duration
2:30
Published
Feb 8, 2025
Related Trending Topics
LIVE TRENDSRelated trending topics. Click any trend to explore more videos.