Step-by-Step Guide to Creating Pipe Network Tables in Revit 🚰
Learn how to efficiently create and organize pipe network tables in Revit to display key system data like sizes, lengths, and materials. Enhance your civil 3D projects today!
Autodesk786
854 views • Feb 18, 2025
About this video
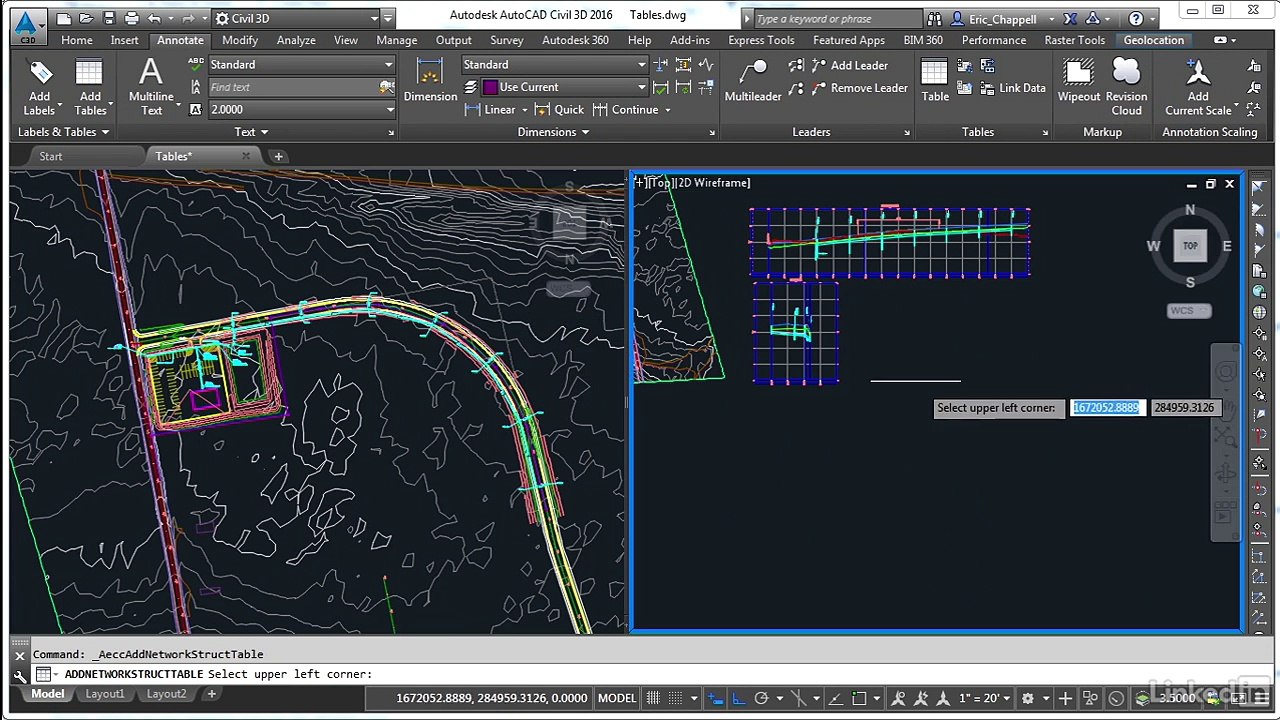
Creating Pipe Network Tables in Revit<br />Pipe network tables in Revit help organize and display pipe system data, such as pipe sizes, lengths, materials, and elevations. You can create these tables using Schedules.<br /><br />1. Open the Schedule Creation Tool<br />Go to the View tab → Click Schedules → Select Schedule/Quantities.<br />In the New Schedule dialog, select Pipes (or Pipe Fittings, Pipe Accessories, etc.).<br />Click OK to proceed.<br />2. Adding Fields to the Pipe Schedule<br />In the Schedule Properties dialog, go to the Fields tab.<br />Select the data fields you want to include, such as:<br />✅ Pipe Name<br />✅ Diameter<br />✅ Length<br />✅ Material<br />✅ Elevation Start/End<br />Click OK to generate the table.<br />📌 Tip: You can add custom parameters to display additional information.<br /><br />3. Sorting and Organizing Data<br />Open the Sorting/Grouping tab.<br />Choose a sorting method (e.g., by Pipe Size or System Type).<br />Check Itemize Every Instance to show individual pipes.<br />Click OK to apply.<br />📌 Tip: Use Filters to display only certain pipe types or sizes.<br /><br />4. Formatting and Appearance<br />Go to the Formatting tab.<br />Adjust column widths and apply bold headers for readability.<br />Set Unit Formats for length, diameter, and volume.<br />Click OK to save changes.<br />📌 Tip: Use Conditional Formatting to highlight specific values (e.g., pipes exceeding a certain length).<br /><br />5. Exporting or Placing the Table on a Sheet<br />✅ To place in a sheet: Drag the schedule from the Project Browser onto a Sheet View.<br />✅ To export to Excel:<br /><br />Click File → Export → Reports → Schedule.<br />Save as a CSV file and open it in Excel for further analysis.<br />🚀 Quick Summary:<br />🔹 View Tab → Schedules → Schedule/Quantities<br />🔹 Select "Pipes" & add necessary fields<br />🔹 Sort, filter, and format the data<br />🔹 Place on a sheet or export to Excel<br /><br />Would you like help with a custom table format for your project
Video Information
Views
854
Duration
3:10
Published
Feb 18, 2025
Related Trending Topics
LIVE TRENDSRelated trending topics. Click any trend to explore more videos.
No specific trending topics match this video yet.
Explore All Trends