Mastering Surface Boundaries in Civil 3D: A Step-by-Step Guide 🏗️
Learn how to easily create and manage surface boundaries in Civil 3D to define your surface extents and eliminate unwanted areas. Follow these simple steps for precise control!
Autodesk786
788 views • Mar 16, 2025
About this video
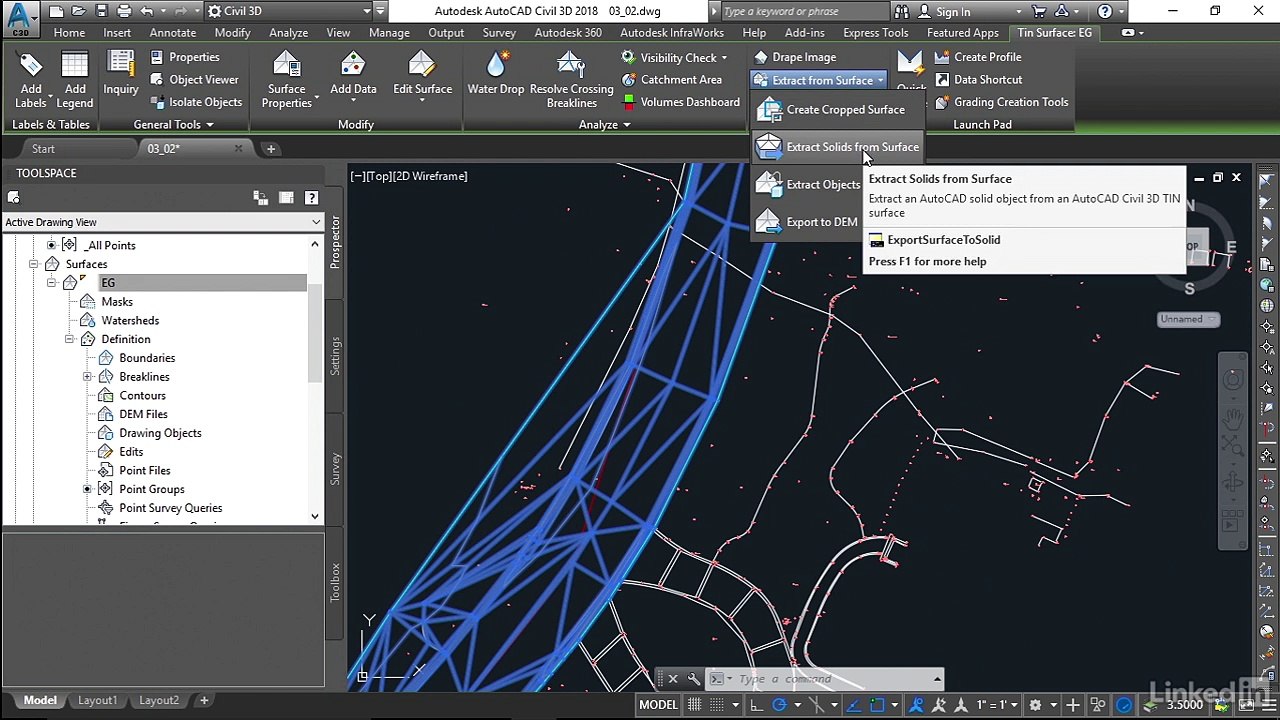
In Civil 3D, creating surface boundaries is essential for controlling the extent of your surface and removing unwanted areas.<br />🎯 Steps to Create Surface Boundaries in Civil 3D:<br />Step 1: Open Surface Properties<br />Go to the Toolspace panel.<br />Under the Prospector Tab, expand Surfaces.<br />Select the surface you want to edit (e.g., Existing Ground).<br />Step 2: Access Surface Definition<br />Right-click on the surface and select "Edit Surface Style".<br />In the Definition tab, find the Boundaries option.<br />Step 3: Add a New Boundary<br />Right-click on Boundaries and select Add....<br />In the Add Boundaries Dialog Box:<br />Name the boundary (e.g., Outer Boundary).<br />Set Type to Outer, Show or Hide.<br />For cutting inside areas, use the Hide boundary option.<br />Click OK.<br />Step 4: Select the Boundary<br />Select the Polyline or feature line that defines your boundary.<br />Press Enter.<br />✅ Surface Updates Automatically<br />Your surface will update, trimming areas outside the boundary.<br />🌟 Pro Tips:<br />For multiple boundaries, add Inner Boundaries or Data Clip Boundaries.<br />Use Hide Boundaries to exclude unwanted areas like ponds or buildings.
Video Information
Views
788
Duration
7:41
Published
Mar 16, 2025
Related Trending Topics
LIVE TRENDSRelated trending topics. Click any trend to explore more videos.
No specific trending topics match this video yet.
Explore All Trends