Mastering Profile Layout Tools in Civil 3D for Precise Design 🚧
Learn how to effectively use Civil 3D's Profile Layout Tools to create and edit vertical alignments for roads, pipelines, and more. Enhance your civil engineering projects with these essential techniques!
Autodesk786
193 views • Jan 16, 2025
About this video
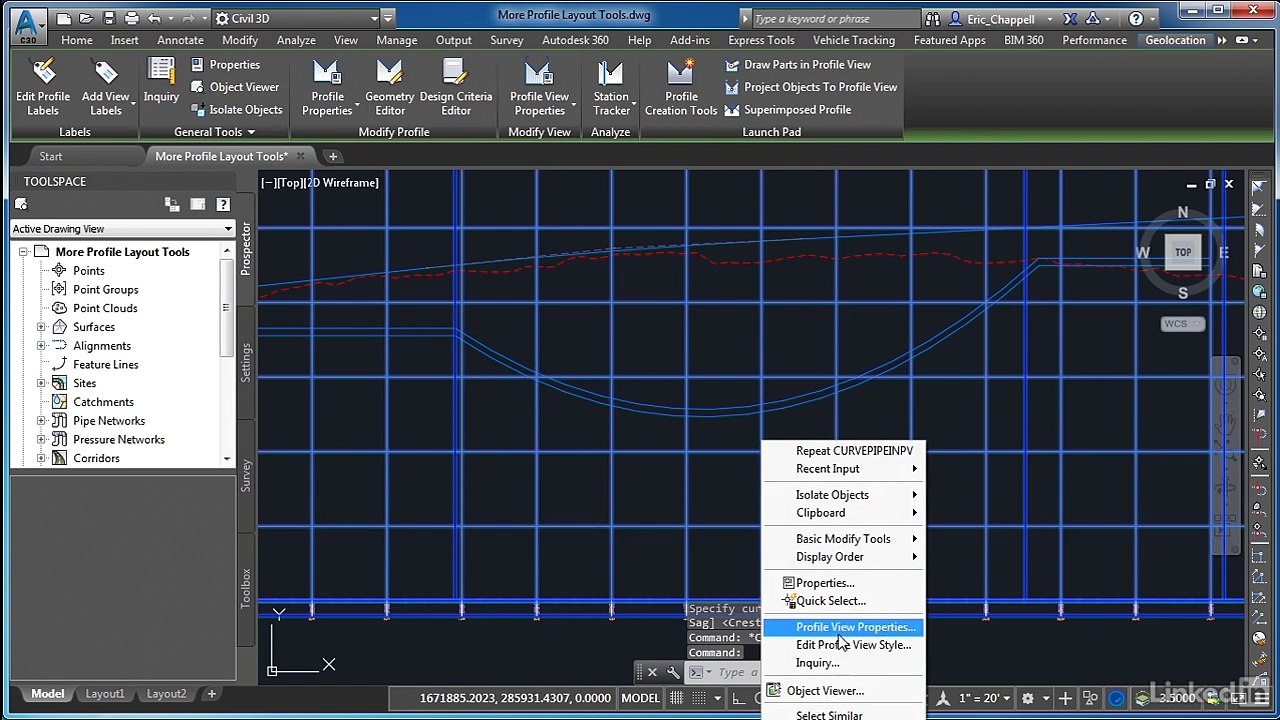
In Civil 3D, Profile Layout Tools are used to create and edit the vertical alignment of a profile. These tools are essential for designing roads, pipelines, and other linear infrastructure projects. Below is a guide to using more profile layout tools effectively:<br /><br />Accessing Profile Layout Tools<br />Open the Profile View<br /><br />Create a profile view by selecting an alignment and surface, then generate a profile view using the Create Profile View command.<br />Activate the Profile Layout Tools<br /><br />Click on the profile view grid.<br />Go to the Profile Layout Tools toolbar, which appears automatically when editing or creating a profile.<br />Profile Layout Tool Options<br />The toolbar provides various commands for designing vertical alignments. Here's a breakdown of the most commonly used tools:<br /><br />1. Draw Tangents<br />Purpose: Create a straight segment between two points.<br />How to Use:<br />Click the Draw Tangents button.<br />Specify the start and end points of the tangent.<br />Adjust elevations as needed.<br />2. Draw Tangents with Curves<br />Purpose: Create a vertical curve between tangents automatically.<br />How to Use:<br />Select Draw Tangents with Curves.<br />Define the start, end, and curve length.<br />3. Free Vertical Curve (Parabola)<br />Purpose: Add a vertical curve between two tangents where the curve length is calculated automatically.<br />How to Use:<br />Choose Free Vertical Curve (Parabola).<br />Select the two tangents to connect.<br />Adjust parameters like K value or length.<br />4. Fixed Vertical Curve<br />Purpose: Add a vertical curve with a specified length.<br />How to Use:<br />Choose Fixed Vertical Curve.<br />Specify curve length and connect it to adjacent tangents.<br />5. PVI-Based Tools<br />Purpose: Use PVIs (Points of Vertical Intersection) for detailed profile adjustments.<br />Options:<br />Insert PVI: Add a new PVI to refine the alignment.<br />Delete PVI: Remove an existing PVI.<br />Move PVI: Adjust the location of a PVI along the alignment.<br />6. Curve Properties<br />Purpose: Edit existing vertical curves.<br />How to Use:<br />Click on a curve in the profile view.<br />Modify properties such as length, radius, or high/low point.<br />Advanced Profile Tools<br />1. Profile Grid View<br />Open the Panorama to see the Profile Grid View.<br />Use it to edit numerical data such as station, elevation, and curve parameters directly.<br />2. Create Profile from File<br />Import vertical alignment data from a CSV or TXT file to generate a profile.<br />3. Profile Styles and Labels<br />Use profile styles to control the appearance of the profile.<br />Add labels for tangents, curves, and PVIs to annotate the alignment.<br />4. Superimpose Profiles<br />Overlay a profile from a different alignment onto the current profile view for comparison.<br />5. Split Profiles<br />Use the Split Profile View tool to break large profile views into smaller sections for easier visualization.<br />Tips for Effective Profile Design<br />Check Design Criteria:<br /><br />Use Design Check Sets to ensure the profile meets slope, curve, and elevation requirements.<br />Enable Dynamic Updates:<br /><br />Link the profile to the alignment so changes in the horizontal alignment automatically update the vertical profile
Video Information
Views
193
Duration
5:34
Published
Jan 16, 2025
Related Trending Topics
LIVE TRENDSRelated trending topics. Click any trend to explore more videos.
No specific trending topics match this video yet.
Explore All Trends