How to Install NetBeans on Windows 11 (2026)
How to Install NetBeans IDE on Windows 11 | Step-by-Step Guide How to Install Java JDK on Windows 11 - https://youtu.be/Ibi7ZFsOwF8 Get started with softwa...
ProgrammingKnowledge
20.4K views • Jan 4, 2026
About this video
How to Install NetBeans IDE on Windows 11 | Step-by-Step Guide
How to Install Java JDK on Windows 11 - https://youtu.be/Ibi7ZFsOwF8
Get started with software development by learning how to install NetBeans IDE on Windows 11! This step-by-step guide will walk you through the process of downloading, installing, and configuring NetBeans IDE, one of the most popular Integrated Development Environments (IDE) for Java, C++, PHP, and more. Follow along and set up your development environment effortlessly.
---
### Steps to Install NetBeans IDE on Windows 11
#### 1. **Download the NetBeans Installer**
- Visit the official Apache NetBeans website: [https://netbeans.apache.org/](https://netbeans.apache.org/).
- Click on the **Download** button and choose the latest stable version of NetBeans IDE.
- Select the appropriate installer for Windows.
#### 2. **Install the Java JDK**
- NetBeans requires the Java Development Kit (JDK).
- If you haven’t installed JDK, download it from [Oracle’s official website](https://www.oracle.com/java/technologies/javase-jdk-downloads.html) or OpenJDK.
- Install the JDK and note the installation path.
#### 3. **Run the NetBeans Installer**
- Locate the downloaded NetBeans `.exe` file in your Downloads folder.
- Double-click the file to start the installation process.
#### 4. **Accept the License Agreement**
- Read and accept the terms of the license agreement.
#### 5. **Select Installation Options**
- Choose the components you want to install (e.g., Java, PHP, C++ modules).
- Specify the installation location or use the default path.
#### 6. **Configure JDK Location**
- During the installation, the wizard will prompt you to select the JDK path.
- Browse and select the folder where JDK is installed.
#### 7. **Complete Installation**
- Click **Install** and wait for the process to finish.
- Once done, click **Finish** to close the installer.
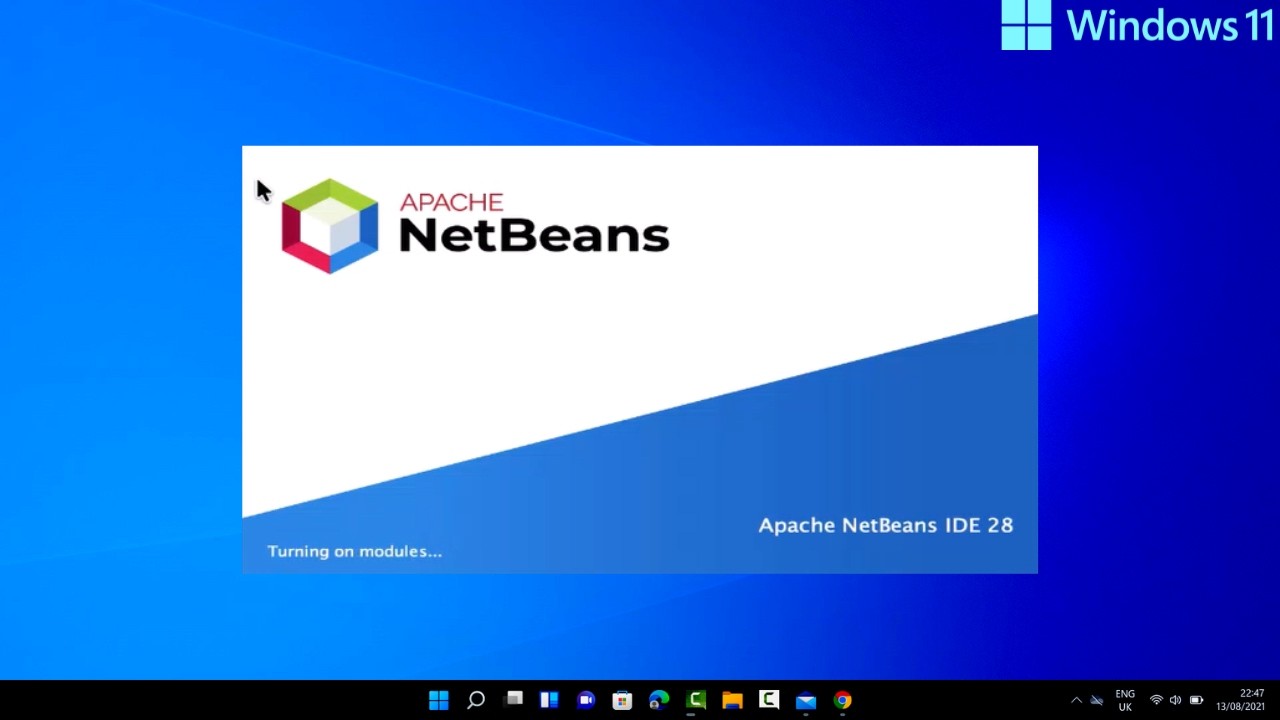
#### 8. **Launch NetBeans IDE**
- Open NetBeans IDE from the Start Menu or desktop shortcut.
- Set up your workspace and start coding!
---
### Why Choose NetBeans IDE?
- **Multi-language Support**: Java, C++, PHP, and more.
- **Open-source**: Free and community-driven.
- **Rich Features**: Code templates, debugging tools, and project wizards.
---
Start coding with NetBeans IDE today! If you found this tutorial helpful, like, share, and subscribe for more tech tips.
#NetBeansIDE #Windows11 #CodingTutorial #JavaDevelopment #ProgrammingTips #TechGuide
How to Install Java JDK on Windows 11 - https://youtu.be/Ibi7ZFsOwF8
Get started with software development by learning how to install NetBeans IDE on Windows 11! This step-by-step guide will walk you through the process of downloading, installing, and configuring NetBeans IDE, one of the most popular Integrated Development Environments (IDE) for Java, C++, PHP, and more. Follow along and set up your development environment effortlessly.
---
### Steps to Install NetBeans IDE on Windows 11
#### 1. **Download the NetBeans Installer**
- Visit the official Apache NetBeans website: [https://netbeans.apache.org/](https://netbeans.apache.org/).
- Click on the **Download** button and choose the latest stable version of NetBeans IDE.
- Select the appropriate installer for Windows.
#### 2. **Install the Java JDK**
- NetBeans requires the Java Development Kit (JDK).
- If you haven’t installed JDK, download it from [Oracle’s official website](https://www.oracle.com/java/technologies/javase-jdk-downloads.html) or OpenJDK.
- Install the JDK and note the installation path.
#### 3. **Run the NetBeans Installer**
- Locate the downloaded NetBeans `.exe` file in your Downloads folder.
- Double-click the file to start the installation process.
#### 4. **Accept the License Agreement**
- Read and accept the terms of the license agreement.
#### 5. **Select Installation Options**
- Choose the components you want to install (e.g., Java, PHP, C++ modules).
- Specify the installation location or use the default path.
#### 6. **Configure JDK Location**
- During the installation, the wizard will prompt you to select the JDK path.
- Browse and select the folder where JDK is installed.
#### 7. **Complete Installation**
- Click **Install** and wait for the process to finish.
- Once done, click **Finish** to close the installer.
#### 8. **Launch NetBeans IDE**
- Open NetBeans IDE from the Start Menu or desktop shortcut.
- Set up your workspace and start coding!
---
### Why Choose NetBeans IDE?
- **Multi-language Support**: Java, C++, PHP, and more.
- **Open-source**: Free and community-driven.
- **Rich Features**: Code templates, debugging tools, and project wizards.
---
Start coding with NetBeans IDE today! If you found this tutorial helpful, like, share, and subscribe for more tech tips.
#NetBeansIDE #Windows11 #CodingTutorial #JavaDevelopment #ProgrammingTips #TechGuide
Tags and Topics
Browse our collection to discover more content in these categories.
Video Information
Views
20.4K
Likes
224
Duration
5:42
Published
Jan 4, 2026
User Reviews
4.4
(4) Related Trending Topics
LIVE TRENDSRelated trending topics. Click any trend to explore more videos.
No specific trending topics match this video yet.
Explore All Trends